Saturday, June 18, 2011

Demos in school

So.... there have been 2 demos in school that I have attended in the last week that was really interesting, so just thought today I would also upload pictures from those too~

 Yours truly with the legendary Jacques Pepin

 The best way to beat egg whites

 How to debone a chicken from within its own skin


Can't wait till his new book comes out in the fall. I hope he'll come back to have another demo then! I'll be sure to get him to sign the book. I must be more prepared for Jacques Torres' demo next week! So excited!!

Meanwhile, there was also a demo on how to break down a fish for sashimi, and the 2 different ways to cut sashimi. Very Interesting! Learnt alot actually~

 Where to cut and how to clean out a fish. Here we had a seabream

 Make a slit down the middle of the bottom of the fish and first remove the guts and the blood. All this has to be removed and the insides washed clean to prevent contamination from the innards and blood onto the flesh

 Remove the head. There are 4 areas that it can be cut into and used for various different things depending on the amount of flesh is on it and the dish intended

 What a beautiful shot.


 Fillet the fish by sliding the knife against the bones

 Cut around the pin bones and remove them 

Remove the skin by cutting off a piece of the tail end of the fillet and sliding the knife between the skin and the flesh, flat against the cutting board. If you don't see a silvery sheen to the skin removed, sad to say, but you have removed too much flesh along with the skin my friend.

 Fresh wasabi root from the base of Mt. Fuji, ground on a sharkskin grater

 Don't you just hate the paste stuff? Fresh wasabi root is so much sweeter and has such a different flavour. I ate the rest of it on my plate just as it was. A 6 inch root costs about US$30 we were told~ I believe it is about $100 a pound!

 Another way to prepare the fillets for sashimi is to pour hot water on the skin side of the fish. Be sure to have a slotted tray to let the water drain out, as well as a sheet of parchment on top to keep the water from cooking the flesh of the fish.

 Immediately dunk the fish in ice water to stop any further cooking, the key is just to heat up the skin enough to ensure that it is not chewy and rubbery when consumed

 Sashimi can then be thinly sliced on a bias or straight cut down in thicker slices, depending on the texture desired
 Plated skin and skinless sashimi

Our little sample plates being plated :) a small dollop of fresh wasabi and a light brushing of good dark soy

Puff Exam Day

Oh yes one more quick update cos I was so pleased with the puff pastry exam we had on Thursday, finally! A good exam day!!

 Palmiers

 My pretty little spaceship Pithivier~~~ 

Managed to score nicely this time!
 Was so pleased that my speedy Vol-Au-Vents rose so nicely, showing off the lamination well!

 These were my submissions for the practical exam. So glad it went well~ Phew!

Orange Cinnamon Swirl Loaf, Sticky Pecan Rolls, Sally Lunn and Challah

Bread Bread Bread Bread Bread Bread Bread Bread Bread Bread Bread~~~ Yum.

 How yeast works in a nutshell. Basically it gets drunk and imparts glorious flavour~

 Compressed Yeast

 A pre-ferment method of bread making is the sponge method. The yeast is combined with some flour and water to pre-ferment for 10-15 mins and once it shows cracking of the flour sprinkled on top, it is ready for use!

 Once the dough is mixed, it is proofed in a proof box till it doubles in size. It is then turned and put back to proof for another 20-30 mins.

 Once it has been pre-shaped and allowed to have a bench rest of about 10-15 mins, it is brushed with melted butter and sprinkled with a good coating of cinnamon sugar.

 Once rolled, sealing each roll well with the heel of the hand, it is placed in the loaf tin and gently pressed down to de-gas the dough

 It is now left to final proof  and then egg washed and baked in the oven till nice and brown outside, and reaches an internal temperature of 185 degrees

 Isn't it a beauty? The smells coming from the ovens yesterday were incredible. Nothing better than the smell of freshly baked bread.

 Remove from the pan immediately and leave to cool to room temperature on a wire rack before cutting into it~ 

 My swirls didn't quite come out the way I intended but it was still very yummy no less. I cannot stop eating this. I'm waiting to make french toast with this once it gets stale. IF it gets stale.

How the swirls should look like~~~

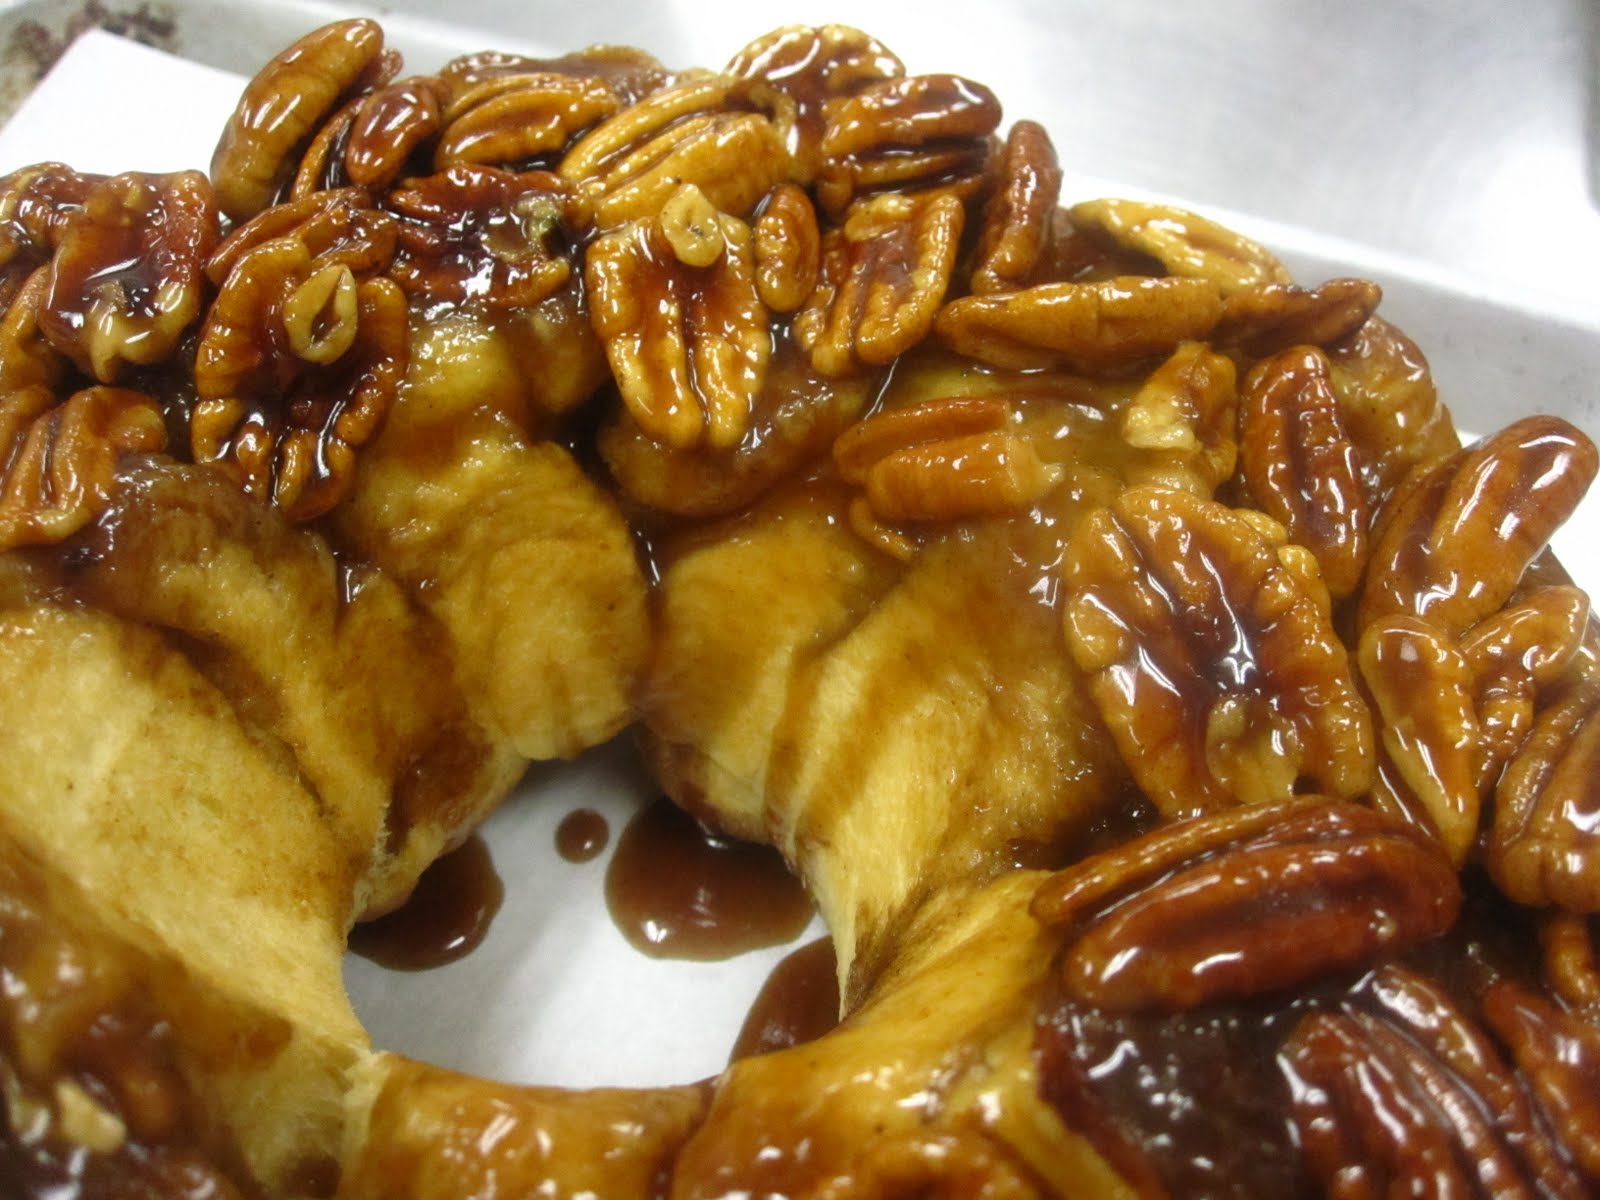
Soooo good. Pecan-Cinnamon Sticky Buns.

 Make the dough, this was made with the same dough as the one used for the Orange Cinnamon Swirl Bread

 Lots of spiced brown sugar rolled into the dough

 The log of goodness was then segmented into 8 equal parts

 They were then placed on top of a mixture of melted brown sugar and honey with pecans on the bottom of an angel food cake pan

 Left to final proof for 20 mins, they were ready for baking!

 Thing of beauty.

 Unmold when still hot, onto a sheet pan with parchment to catch the caramel and leave to cool

So fun to eat. Just pull apart and tuck in. Don't be shy, lick those fingers at the end. I know I did.

Sally Lunn Rolls

 Another sponge dough, these were fun to shape. They need to be rounded off on an unfloured surface to have some surface tension to create the smooth tight exterior

 Sprinkled with a little everything mix on top

 Traditionally though, they are sprinkled with a tiny amount of flour

 Best to egg wash them before the sprinkling of any topping to keep them in place and have a nice golden brown exterior

 So delicious, with the taste and texture of a good potato roll. Should be awesome as a burger bun!

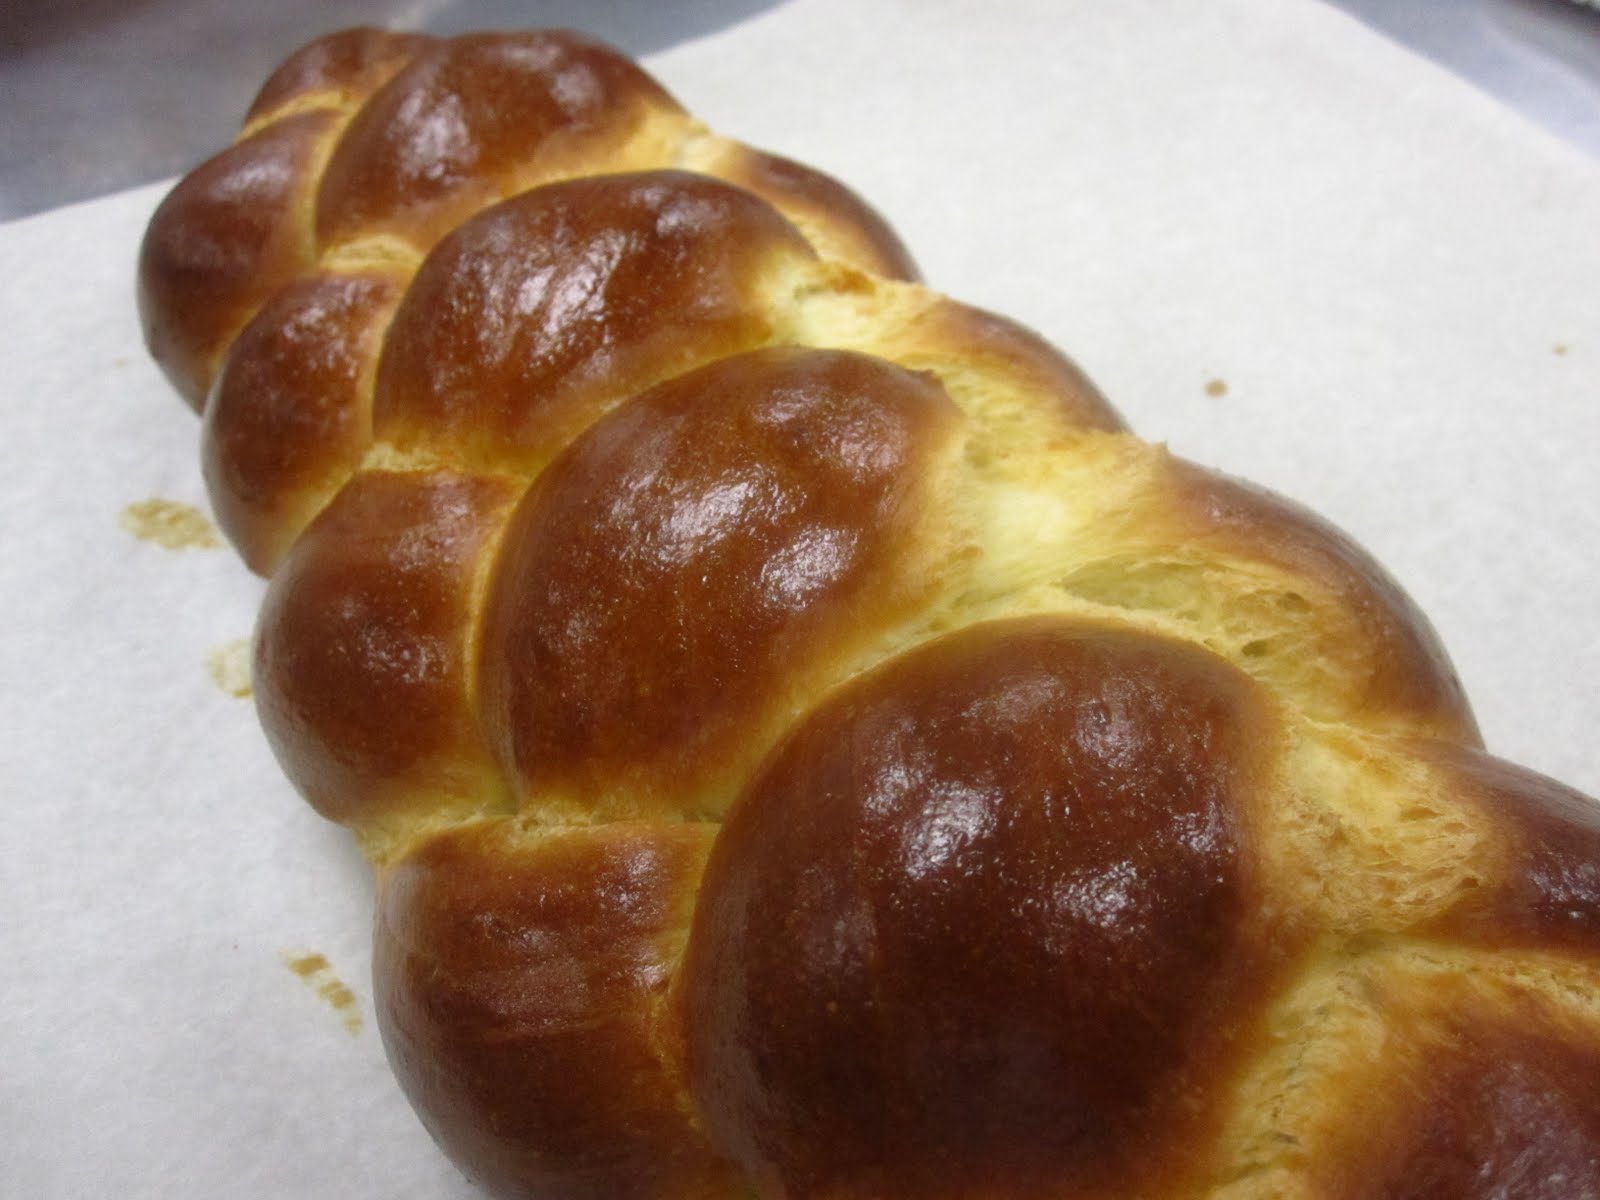
All together now girls~~~ Challaaaahhh~~~

 Here we have a straight mix dough, everything was mixed in the bowl and kneaded and proofed, turned and proofed again. The dough was then divided into 4 portions for a 4 strand braid

 De-gas each portion of dough and roll up, flattening and sealing the end of each roll with the heel of the hand

 Roll each portion of dough into a nice even log, tapered at the ends

 Attach the ends of each strip of dough at one end in preparation for braiding. Now it's lift up strand 3 and move strand 1, over 4 and repeat till done. seal and tuck the end under the loaf

 It should look like this when done! There are also 8-14 braids or so I've heard... Should experiment with those sometime.

 After a good even egg washing and a bake in the oven, we have bread. Or more specifically, we have challah.

Dude.

Tip of the Day!
If you do not have a proof box, try proofing bread in an oven warmed only by the pilot light. 
Oh yes, do not wrap up warm bread in plastic! It needs to let the steam out and cool to room temperature or it will turn soggy on you!
 Best way to store bread for long after baking by the way, is to freeze them.

Go ahead. Bake some bread today.

xoxo